I have done several batches of beer now, and since I want to try doing a Lager or a Kölsch before winter winds down, I figured I better start making some yeast starters. And hey, another excuse for a frivolous DIY electronics project. Today I put together a stir plate. If you want to make one like this, I have itemized the parts and prices below. You would also need an erlenmeyer flask (we have a 2000 mL flask) and a 25 mm stir bar.
[contentblock id=2 img=adsense.png]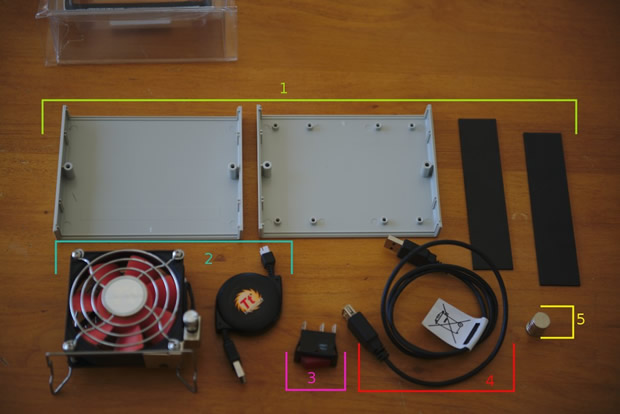
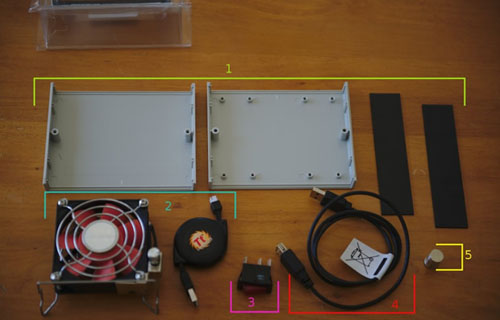
Desktop Plastic Project Case Box 5.51″ x 4.33″ x 1.38″ $6.90
Thermaltake Mobile Fan II External USB Cooling Fan $10.92
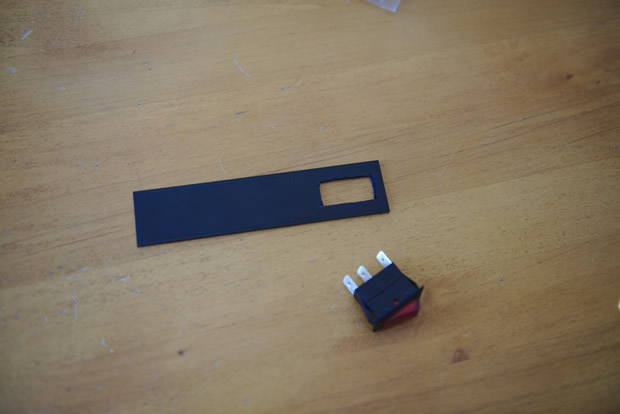
SPST Small Rocker Switch $1.62
USB Extension Cable (2) $7.98
Neodymium Magnets 1/2 x 1/8 inch Disc $5.89
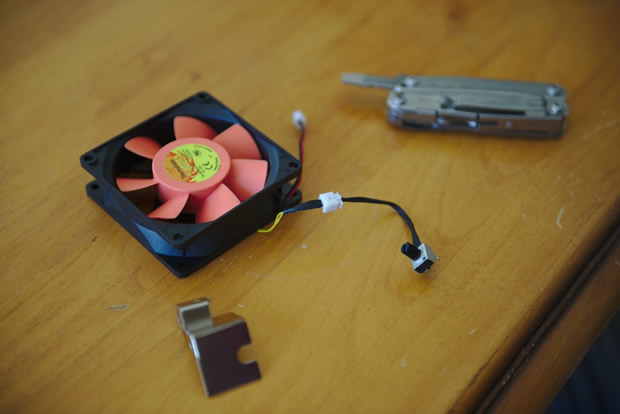
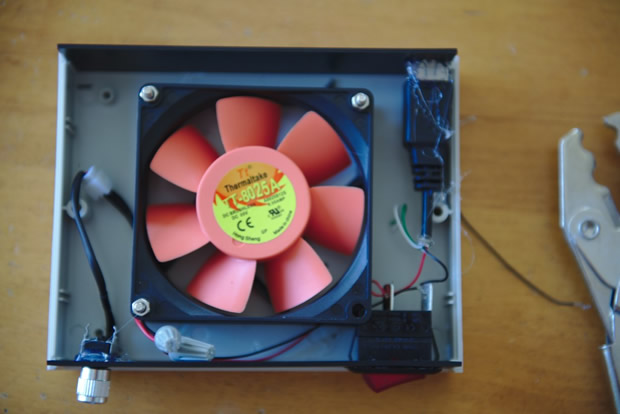
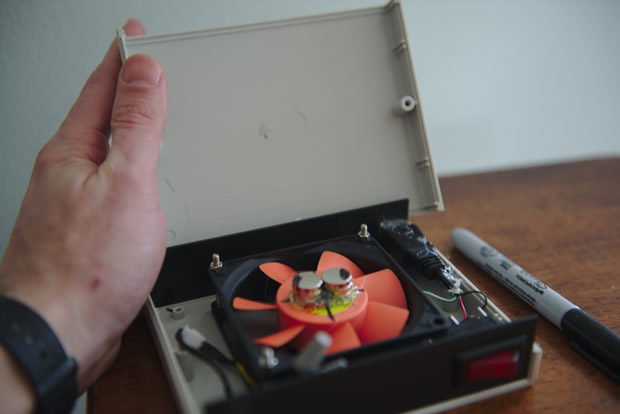
Total cost $33.31 I chose the Thermaltake fan because it is 5 volts so I can power it over USB, and it comes with a built in speed control potentiometer with a nice metallic finish knob. I unscrewed the bolts and tossed the cage and stand.
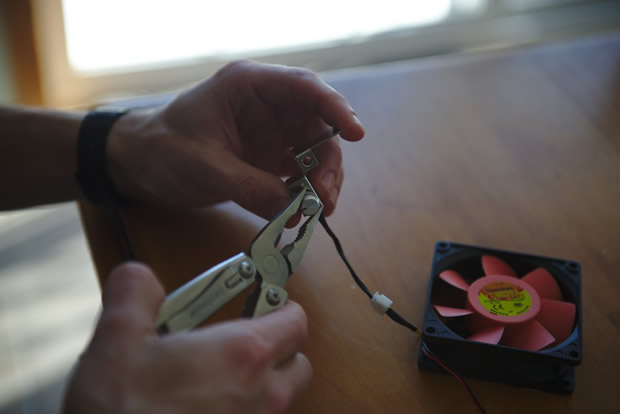
The potentiometer knob is just held on by tension, but it is a lot of tension. I needed some pliers to pull it off.
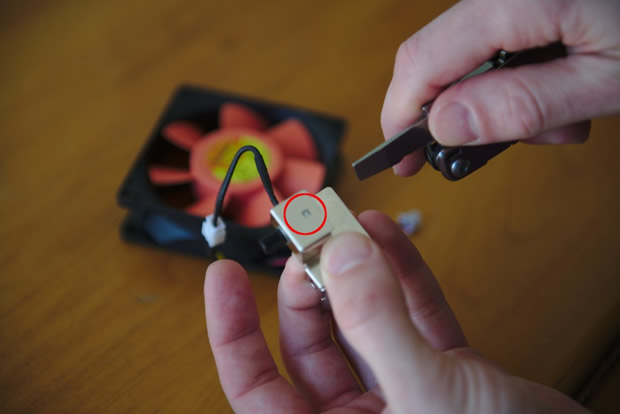
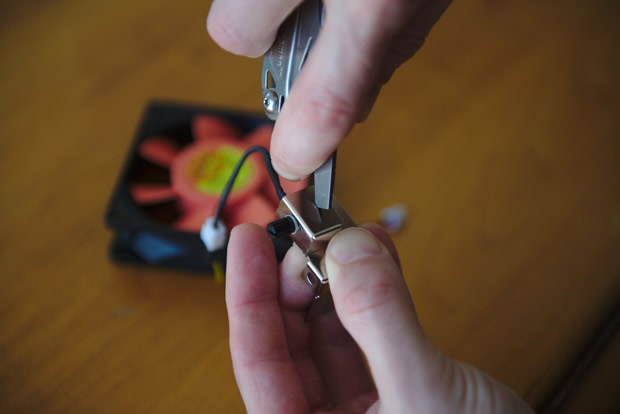 There is a small clip on the potentiometer that holds it into the bracket. Depressing the clip allowed the potentiometer to be pulled out.
[contentblock id=1 img=adsense.png]
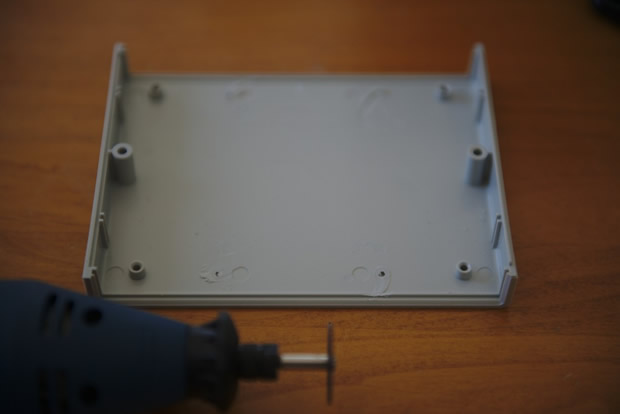
 These mounting nibs are in the way for mounting the fan.
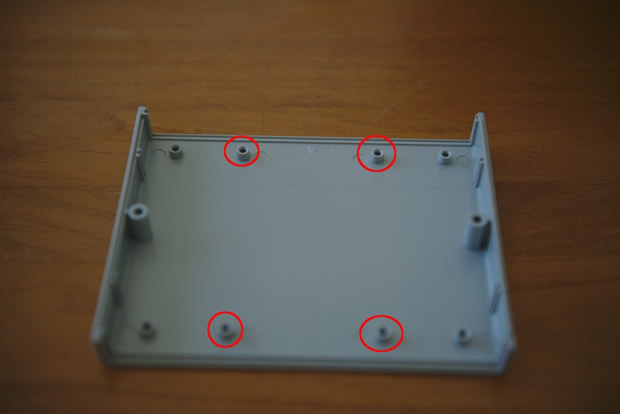
A quick buzz with the cutoff wheel on the rotary tool got them out of the way enough to move forward with mounting the fan.
I marked out the holes and drilled them out with a 1/8 inch bit, then ran the bolts that held the cage on through the box and fan and used the nuts that came with to lock it down.

I am using the female end of one of the USB extensions as a power jack.
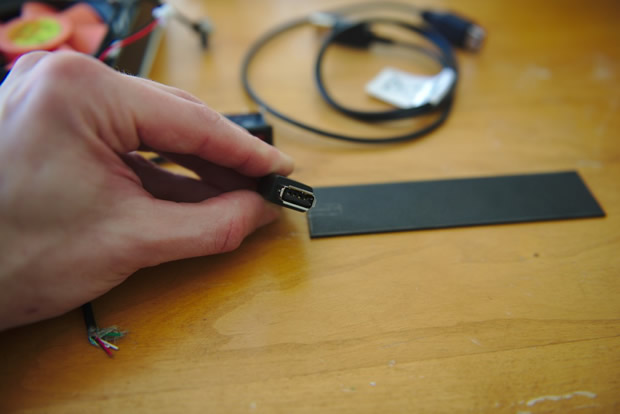
Here I lined it up to the back plate to cut out with the rotary tool.
4 wires to a standard USB cable, Green DATA+, White DATA-, Black POWER-, Red POWER+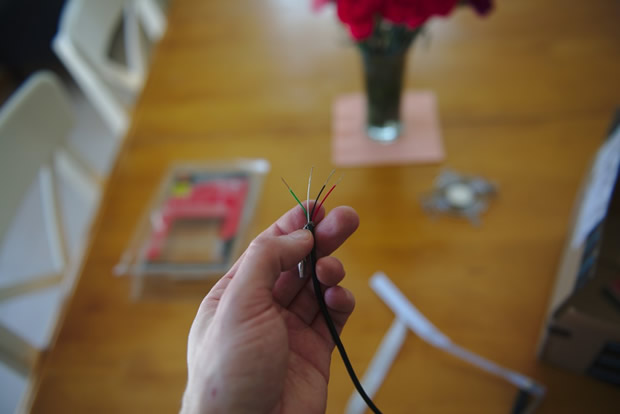
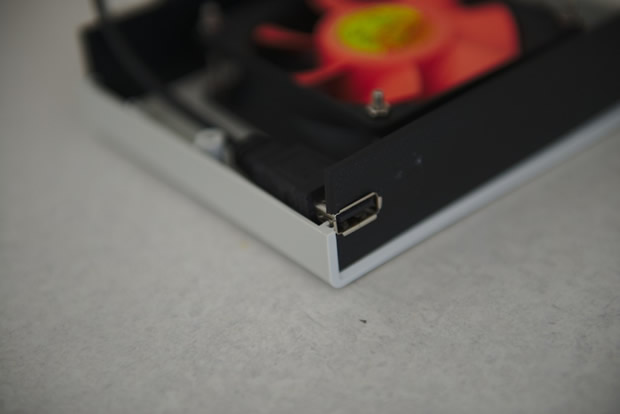
Test fitting after making the cutout. Meh… good enough.
Next I cut off the female end of the other USB extension cable and striped the wires on both male ends to solder them together to make a power cable for the stir plate.
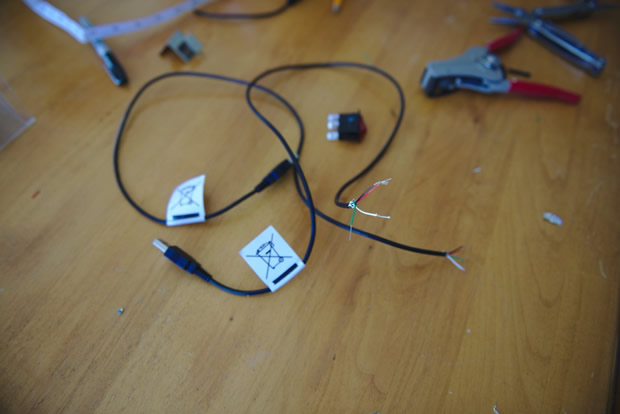
Twisted up and ready to solder. I also used some electrical shrink wrap to make the connections and cable nice.

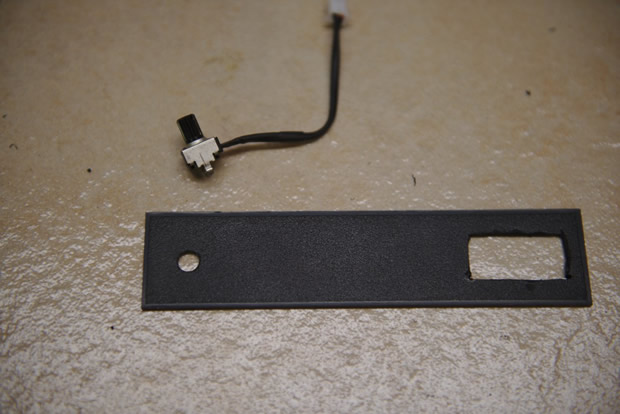
I cut out the front plate of the project box with the rotary tool to make a place for the rocker switch.
Had to take out one of the bolts because the switch wouldn’t fit. Three should be enough, right? 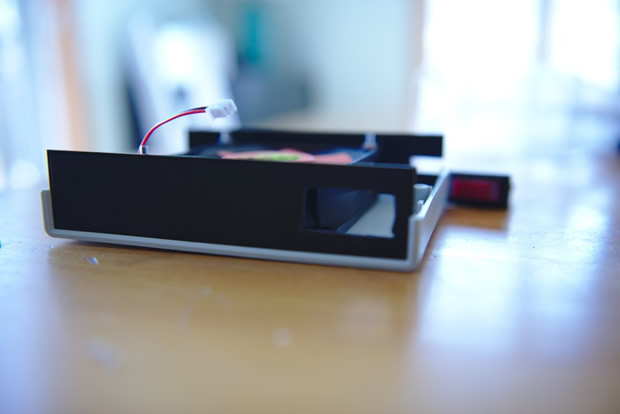 Now to wire up the power.
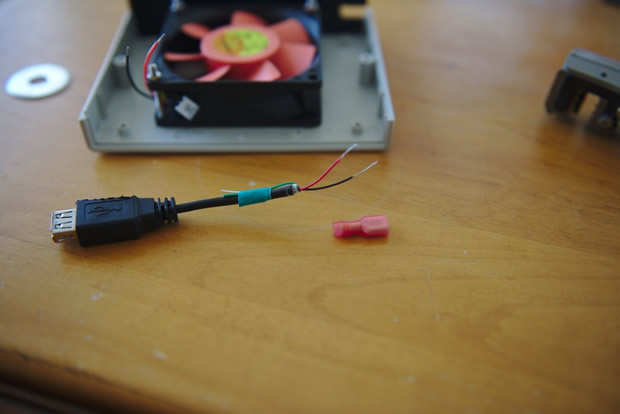
I was going to use these handy clips, but my crimping tool is the wrong size and I just ended up butchering the whole pack of clips.
[contentblock id=3 img=gcb.png]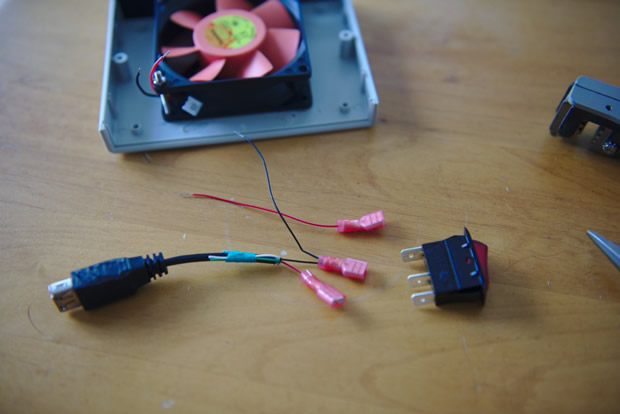
Oh well, more soldering.

Now to find a good place to position the potentiometer knob.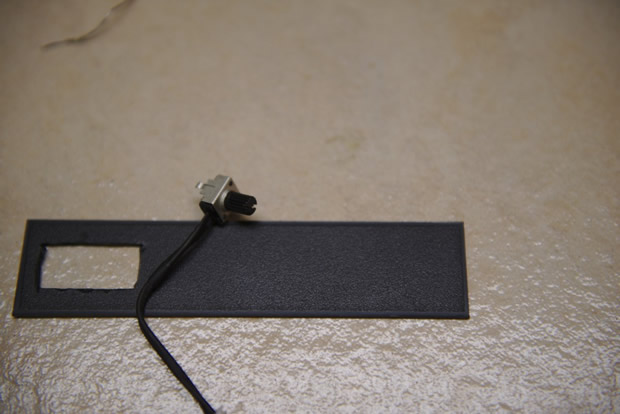
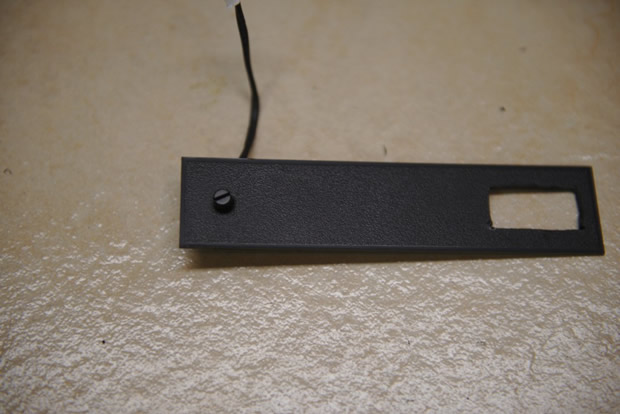
1 / 4 inch drill bit seems to be the right size.
Fit is good enough.
Hot glued the USB female power jack and the potentiometer to the case.
Next I centered and hot glued the magnets to the fan. The magnets are stacked 2 high.
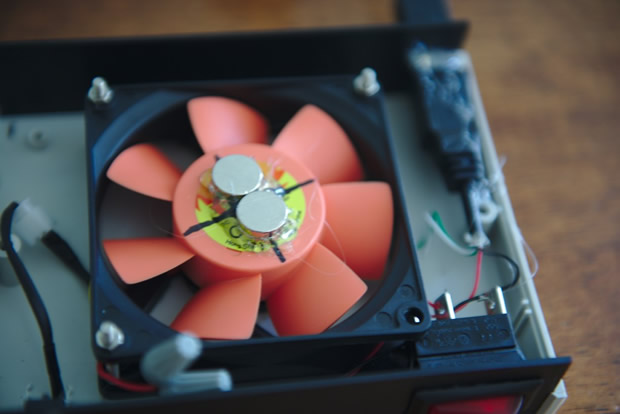
It spins!
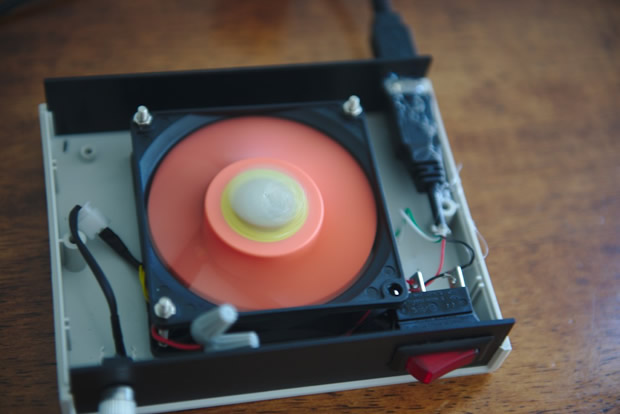
A test run before adding the box cover gets a good lock on the stir bar and creates the expected vortex.
Unfortunately, with the cover on, I can’t get a lock on the stir bar and it flies off almost immediately. I tried adding another magnet to each stack, but it presses against the top of the box and wont spin. Either way, going to have to do some more cutting.
Ugly cut with a drill bit and rounded out with a rotary tool sanding cylinder.
That’s OK, I can pretty it up with some red cellophane tape.

Little girls love science!
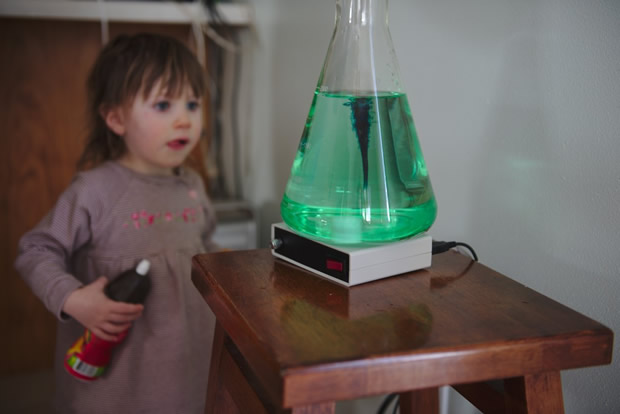
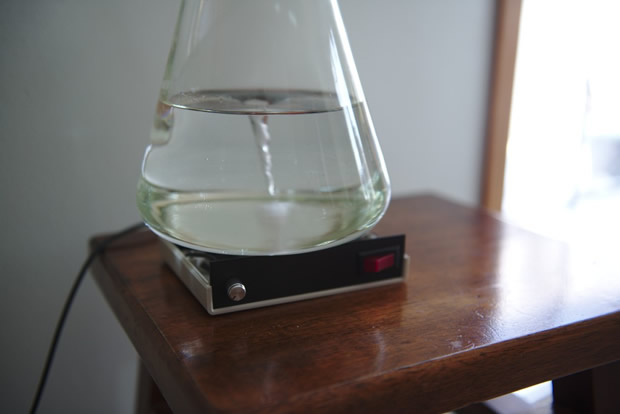
The colors change. It is whirling and swirling and working as expected.
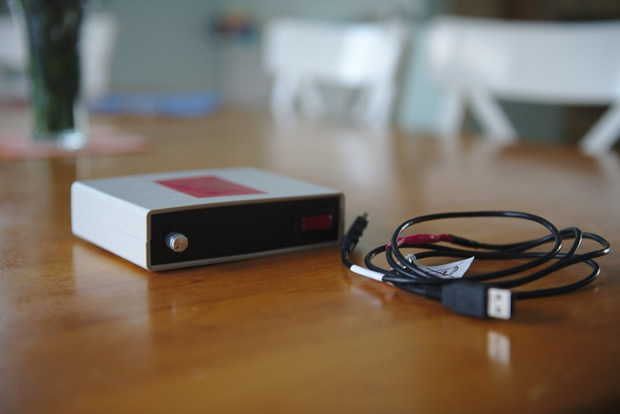
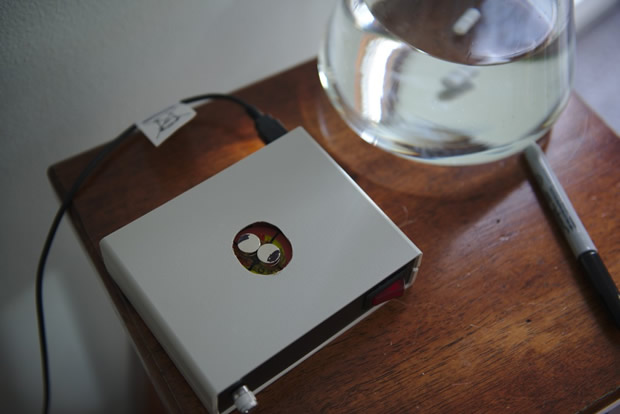
Proper glamour shot.
USB A male to USB A male power cord.
The power jack on the back.
The potentiometer knob.
The power switch.
Rubber feet for the bottom.